The down side of her affliction is that all the stuff is in constant rotation, and sometimes she gives away valuable antiques, or family heirlooms even, for cheap or free. One of the items I was long concerned about was my childhood desk - I made it very clear, in no uncertain circumstances, that this was to be kept for me until I had room for it. Well, now that I've bought my own place the chickens are coming home to roost, because a load of my old crap shows up every time she visits. Last time she was giving us a freezer she came across, and loaded next to it on the trailer? Yep, my old desk.
I thought I would do a write-up of my first attempt at furniture refinishing, in the hopes it will inspire someone to rescue a nice piece of old furniture instead of buying more of that put-it-together-yourself-with-an-allen-wrench stuff. Besides, most of that flat-pack furniture is crap - It's usually slightly unsteady at best, the particle board shelves sag after a year, the plastic laminate on the edges peels off, and if you try to move it the camlocks warp or rip big hunks out of the particle board, rendering it useless. I constantly see beautiful pieces of furniture at thrift stores and garage sales, usually for under ten bucks. All they need is a few free evenings of work and $20 worth of materials.
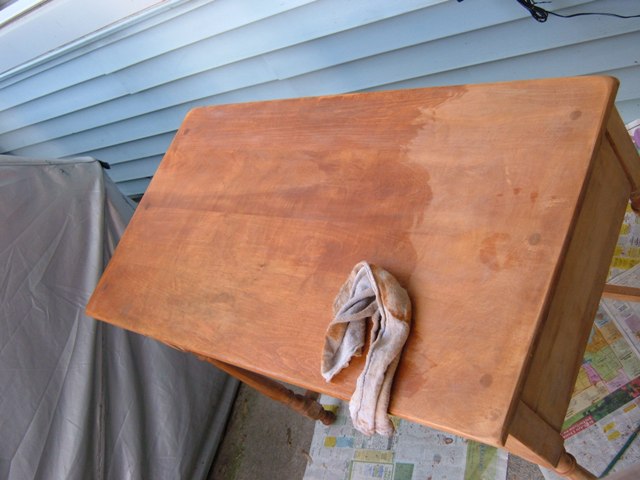
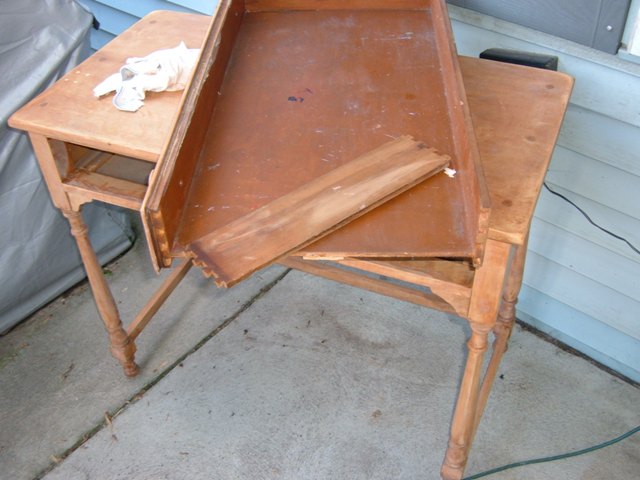
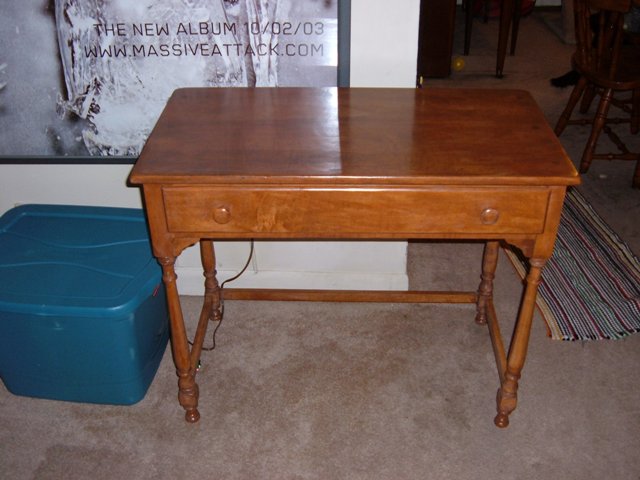
Here is my starting point:
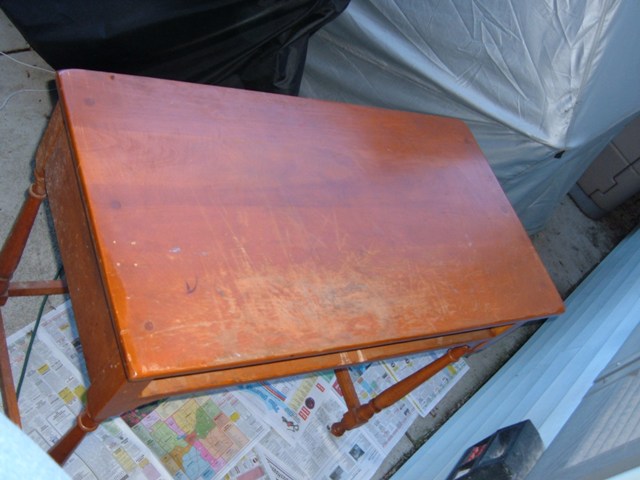
As I said, it's a basic desk that belonged to my father when he was a boy, and was used by me throughout elementary & high school, so it's at least 60 years old. You can see the surface is scarred by x-acto cuts & enamel paint (from my teenage model-building days), water rings, and lots of general wear. (This is why you don't give a piece of antique furniture to a teenage boy). Some of the cuts in the surface have had dirt ground down into them and will still be visible (unless I planed the top of the desk, which is beyond my skill / finances / motivation at this point). That doesn't really bother me, though - I just see them as "battle scars". The marks on the side are dirt/mildew from being stored in a basement for twenty years. I was told the desk was made of cherry, but I don't know if that's right or not. (sorry for the weird angle on a lot of these pics - I was working on my back patio, which is a pretty tight space).
The first step is to give the piece a good cleaning, preferably with a damp rag (don't bother using furniture polish or wood soap at this point, it's all gonna get stripped off soon). After the piece dries, you're ready to strip. I purchased a product called "Peel Away 6":
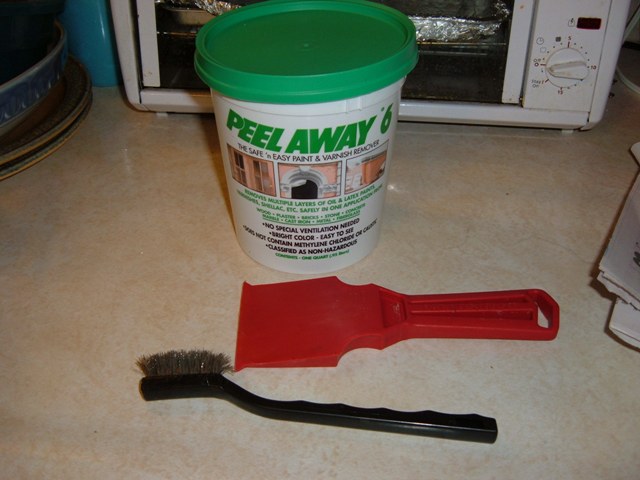
I bought this product because it is supposedly low-odor and more environmentally friendly than a lot of the other products, and it was a fairly small container (I didn't need a gallon of stripper). It was under $10. I also got a plastic scraper for a buck, and I had a SOFT wire brush on hand that I used for getting into crevices:
***CAUTION*** FOLLOW ALL DIRECTIONS WHEN WORKING WITH CHEMICAL STRIPPERS AND OTHER CHEMICALS!!! Some of this stuff is nasty. Wear gloves and work in a well-ventilated area, preferable outside. Dispose of all chemicals, rags, etc., in the proper manner.
The first step is brushing the stripper on - I used cheap disposable foam brushes, just 'cause it's easier. Unfortunately I don't have any pictures of this step, as I was up to my wrists in caustic chemicals and wasn't about to grab my digital camera. Just follow the instructions and brush on an even coat. The "dwell time" (how long you let the stripper soak in) on my product was listed as "From 1 - 48 hours". Gee, thanks. I let the stripper soak for 3 - 4 hours and tried scraping:


The old finish came up pretty easily, except in a few spots. After I removed all the stripper, I re-applied it to the few spots that still had some of the old finish stuck to them and let them soak for a few more hours. This got off 95% of the old finish.
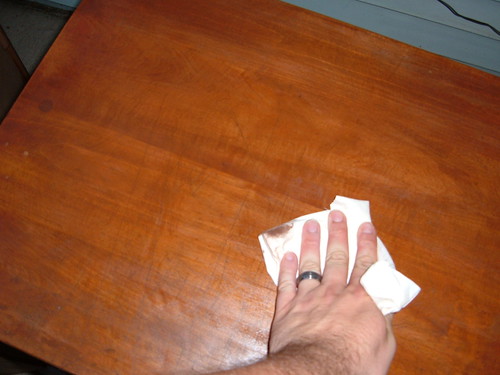
After you are done stripping, the piece needs to be wiped down with mineral spirits:
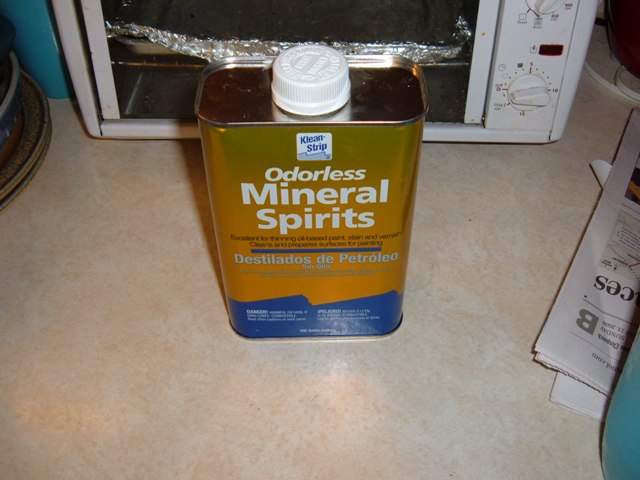
(About $6 for a can, I think). This deactivates the stripper and leaves a clean surface to work with.
Wiping down the top:
Using an old toothbrush to get all the stripper out of the spindles:

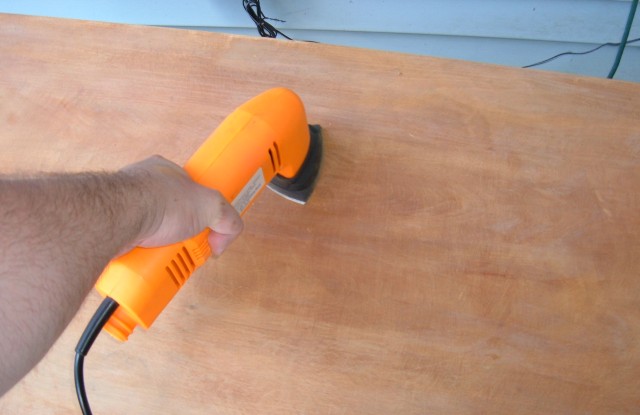
After being wiped down, I sanded the few spots that still had some stubborn bits of finish stuck to them. I had a detail sander, but it wouldn't have been much work by hand:
I also bought a sanding sponge (around $2) to get into the hard spots:
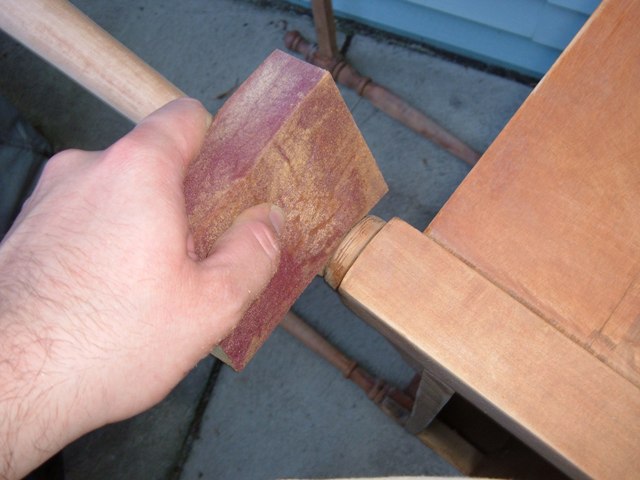
The sponges are nice because once they get clogged with sawdust, you can just wash 'em out and reuse them.
After sanding, I wiped the desk down with mineral spirits again, mostly just to get rid of the sawdust.
Before the desk could be finished, it had a few repairs that needed addressed. Luckily, none of then are particularly difficult. The first is four small holes on the left edge where someone had a desk lamp screwed into the surface:

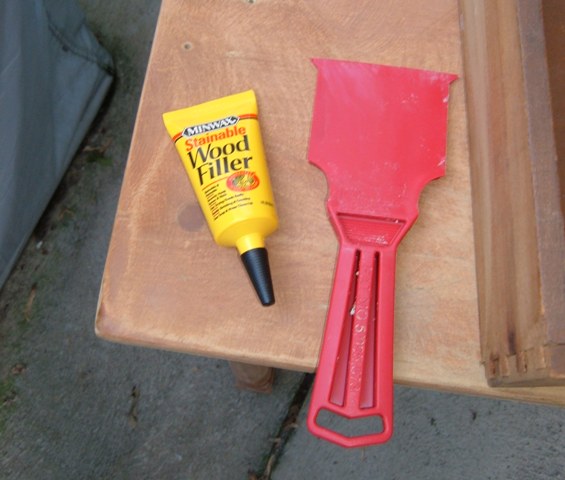
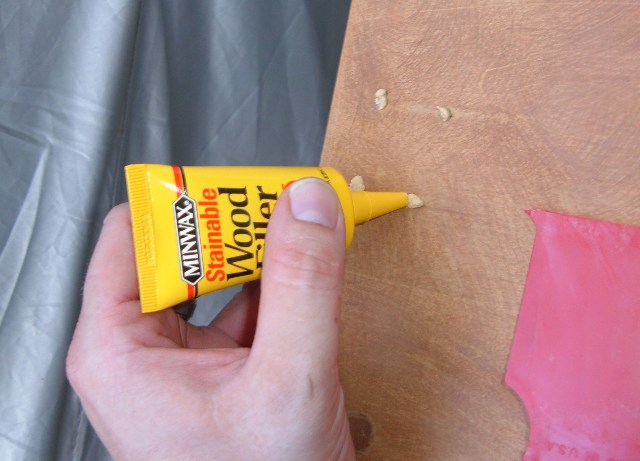
For this repair, I used stainable wood filler ($2 a tube) and a putty knife:
Get any loose sawdust or debris out of the holes, then squirt the filler in:
Smooth the filler out with a putty knife:
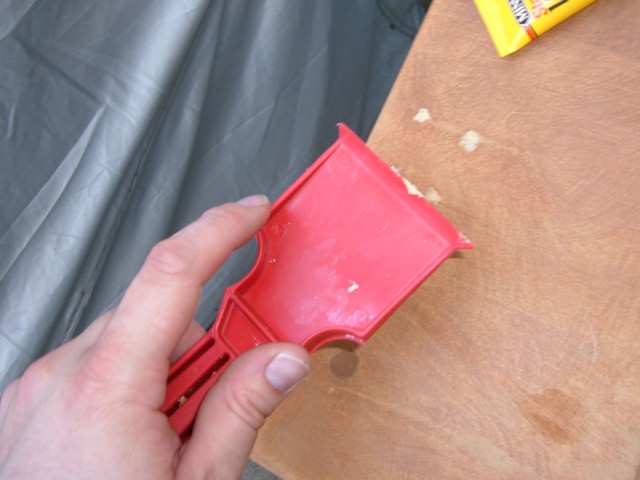
Note: Don't scrape the filler off flush with the surface yet - leave it "mounded" up a little. The filler shrinks as it dries, and if you leave it flush now there will be depressions after it dries, and you'll have to do it again. After the filler cures, sand it down flush with the surface.
The next repair is that one of side of the drawer has come unglued:
This is easily fixed with a little glue along the dovetails...
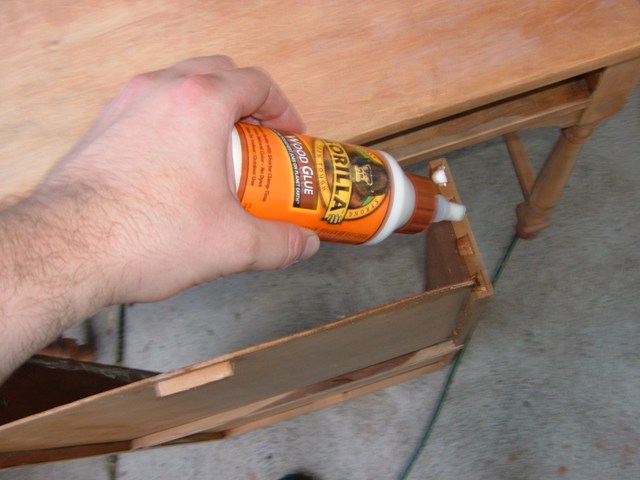
...and a clamp:

Wipe off the excess wood glue with a damp paper towel before it dries. I let this repair sit overnight.
Now we're ready for staining. I used a small container of cherry stain and a sponge brush:
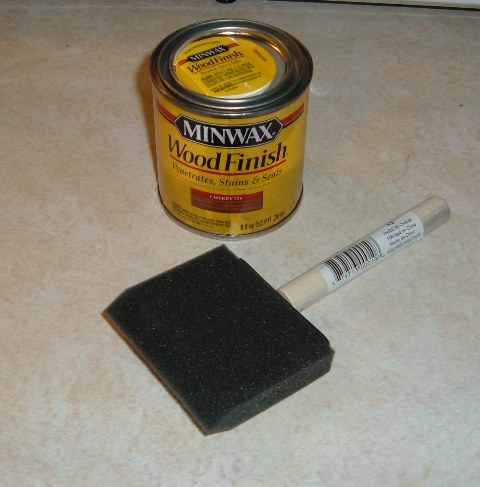
(Again, I don't have pics of the stain being applied, 'cause I had my hands full). Just brush on a nice even coat. After it sits for 5 - 15 minutes, wipe it off:
DO NOT let the stain sit until it gets tacky, or you'll regret it - it'll be a major pain to get off.
After the first coat of stain:

In the above picture you can see kind of a whitish haze along the short edges - I don't know if this was because I didn't get all of the stripper off, or because I was working outside in humid conditions, but I had to spot sand these areas and wipe them down with mineral spirits again. After that, I applied a second coat of stain, let is soak for quite a bit longer (probably 30 - 45 minutes), and wiped it off. It looked pretty good after that.
Now, we're ready to seal it. I chose a polyurethane finish:
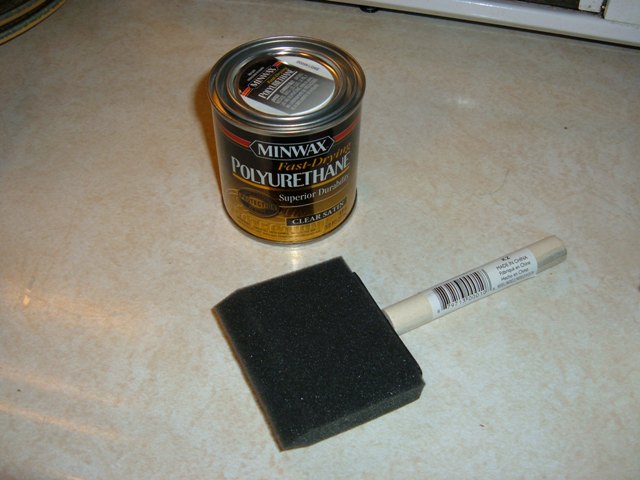
Looking around on the Internet, a lot of people dislike polyurethane, especially for antique furniture, since it's a modern material and not "period correct". But, it's extremely tough, inexpensive, and easy for an amateur to get good results with. This desk was a workhorse for it's first sixty years, and I don't plan on babying it for the next 60, so I choose poly. There's no pics of it being applied (again, hands were full), but you just brush on a nice even coat. DON"T OVERWORK IT, or you'll have brush marks in the final finish - a sponge brush is ideal for polyurethane. Brush marks will settle out as it dries. The instructions for mine said to sand the first coat after four hours with fine sandpaper, then wipe it down and apply the second coat. Unfortunately I had to let the desk sit for a day and a half after the first coat, and when I test-sanded an inconspicuous spot the next day it was showing scratches, so I got nervous and applied the second coat without sanding between coats. Maybe I just got lucky, but I think it came out great:
Overall, I was pretty happy with the results for my first effort. Now I have my eye on a butcher block kitchen island at the local thrift store for $8...